How to Build Custom Shelves: A Step-by-Step Guide
Building custom shelves is a great way to add functional and personalized storage to your home. Whether you need to organize your books, display decorative items, or simply free up some space, custom shelves can be designed to fit your exact needs and style preferences. In this article, we’ll guide you through the process of building your own custom shelves, from planning and gathering materials to installation. Whether you’re a DIY beginner or an experienced crafter, you’ll find the steps easy to follow and accessible.
Step 1: Plan Your Custom Shelves
The first step in building custom shelves is to carefully plan out what you want. Think about the size, shape, and location of your shelves. Ask yourself the following questions:
- What will you be storing or displaying on the shelves?
- Where will the shelves be placed? (Living room, kitchen, bedroom, etc.)
- What type of design fits the style of the room?
- How much weight will the shelves need to support?
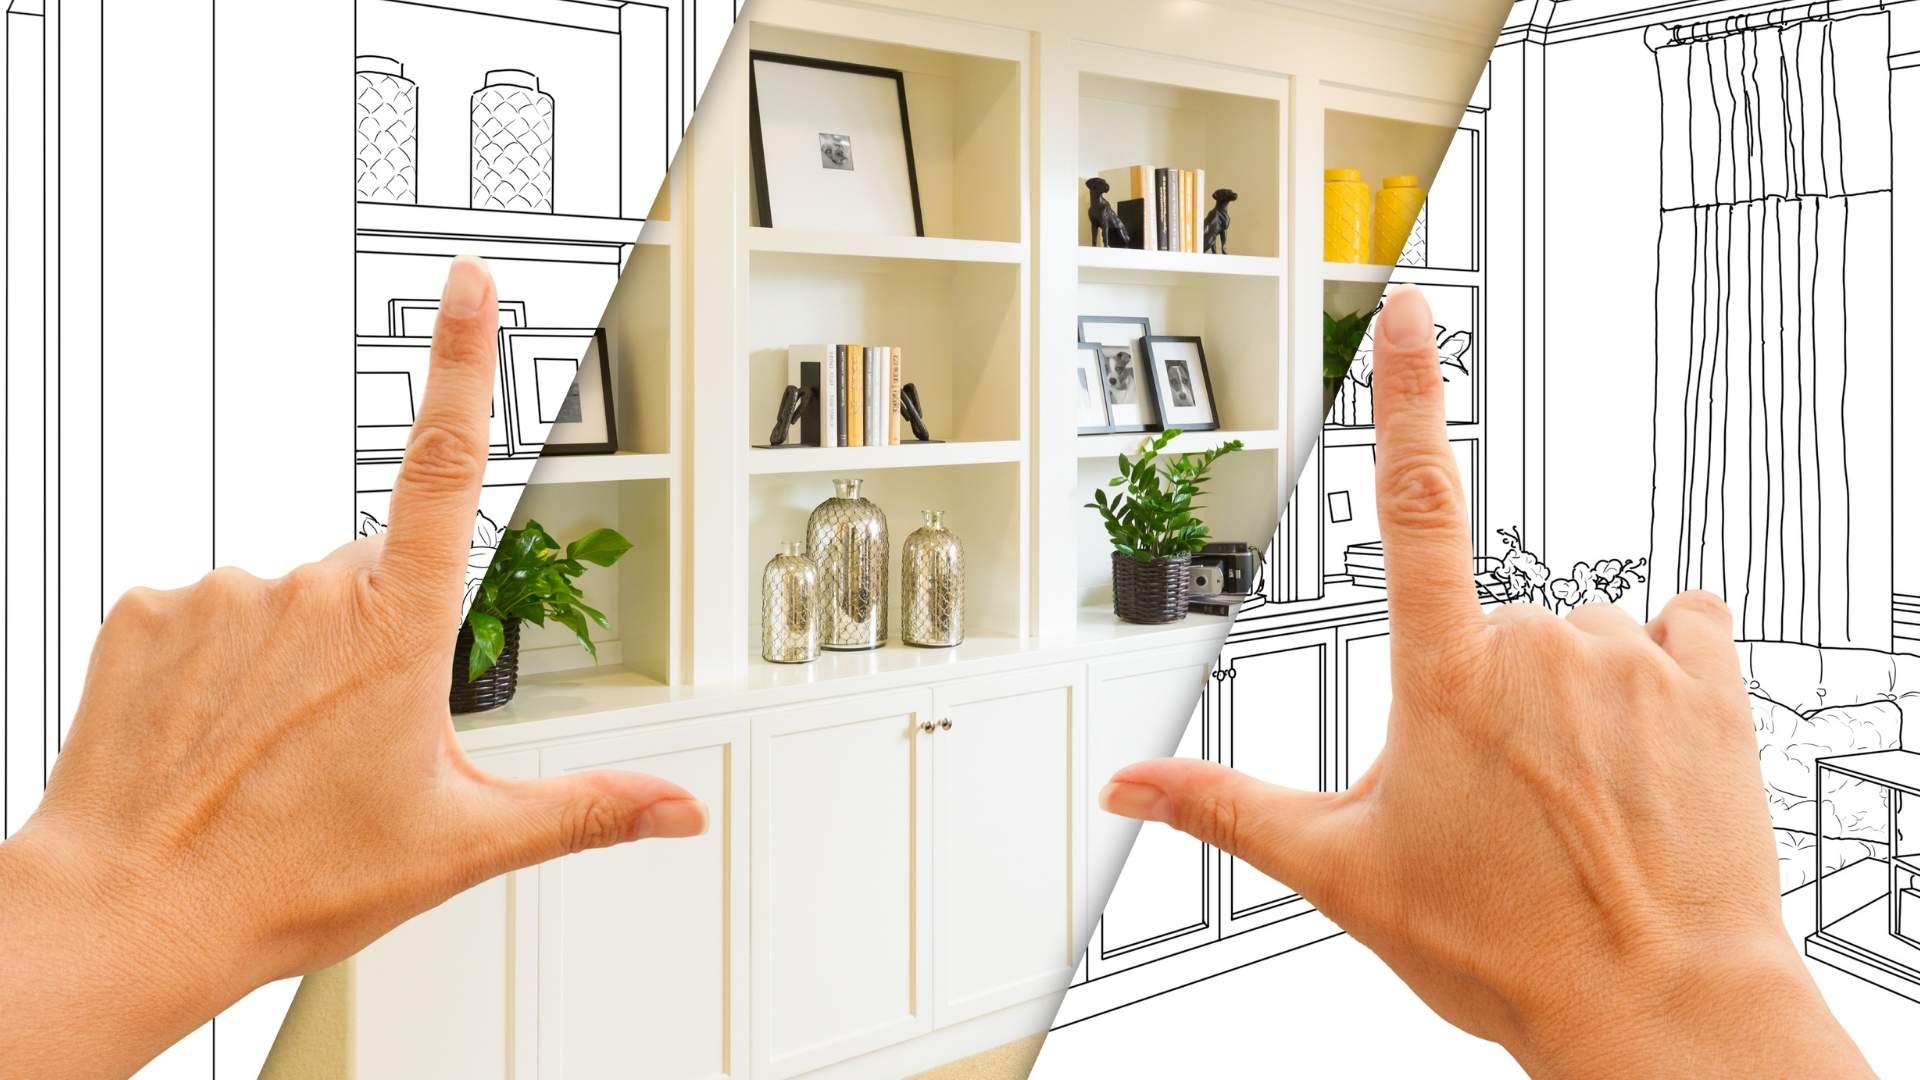
Once you’ve answered these questions, you can move forward with designing your shelves. Measure the space where the shelves will go to ensure they fit perfectly. Create a rough sketch or use design software to visualize the layout and dimensions.
Step 2: Gather Your Materials
Once you’ve planned out your shelves, it’s time to gather the materials you’ll need. The specific materials will depend on your design, but generally, you’ll need the following:
- Wood or other shelving material: Depending on the look you want, you can use solid wood, plywood, or MDF (Medium Density Fiberboard).
- Brackets or shelf supports: These will hold your shelves up. You can choose metal brackets, floating shelf supports, or traditional wooden corbels.
- Screws or nails: You’ll need screws for a sturdy installation.
- Wood glue: For added durability and to secure joints.
- Paint, stain, or finish: This will give your shelves a polished look and protect the wood.
- Tools: You’ll need a saw (or have the wood cut to size), a drill, a screwdriver, a level, a tape measure, and a pencil for marking.
Make sure to choose high-quality materials that can support the weight of the items you plan to store. If you’re building shelves for heavy items like books, opt for sturdy wood or reinforced brackets.
Step 3: Cut the Wood to Size
Once you have all your materials, it’s time to cut the wood to the desired size. If you’re using large sheets of wood, you may want to have them pre-cut at your local hardware store. If not, carefully measure the length, width, and depth of the shelf, and use a saw to cut the wood accordingly. Make sure the cuts are straight and accurate for a professional finish.
Remember that precision is key, so take your time when cutting. It’s helpful to use a saw guide or a miter saw to ensure straight edges.
Step 4: Assemble the Shelves
Once your wood pieces are cut to size, it’s time to assemble the shelves. If your shelves have multiple tiers, start by attaching the horizontal shelf boards to the vertical supports. Use wood glue to secure the pieces together, and then reinforce them with screws for added strength. Make sure the shelves are square and level during assembly.
If you’re installing floating shelves, you’ll need to install the brackets or supports into the wall first. These brackets will support the weight of the shelf without being visible. Mark the wall where you want the shelf to go, drill pilot holes, and then secure the bracket with screws. After that, slide the shelf onto the bracket and check for stability.
Step 5: Sand and Finish the Shelves
Once your shelves are assembled, it’s time to smooth out the rough edges. Use sandpaper to smooth the surface of the shelves and the edges of the wood. This will help create a polished finish and ensure the shelves look professional. You can choose fine-grit sandpaper for a smoother finish.
After sanding, wipe down the shelves with a damp cloth to remove any dust. Now, it’s time to finish the shelves with paint, stain, or a clear wood finish. Paint can add a pop of color to your shelves, while stain enhances the natural wood grain. If you want a more rustic look, you can leave the wood unfinished, but be sure to seal it with a protective finish to prevent damage from moisture or wear.
Step 6: Install the Custom Shelves
The final step is to install your custom shelves. If you’re using brackets or traditional supports, use a level to make sure the shelves are aligned properly before securing them to the wall. Mark where the screws or nails will go and drill pilot holes for added accuracy. Once the holes are drilled, fasten the brackets or supports to the wall, and then place the shelves on top of them.
If you’re installing floating shelves, carefully slide the shelves onto the pre-installed supports. Check that the shelves are level and securely attached before adding any items to them.
Step 7: Style and Enjoy Your Custom Shelves
After installing the shelves, it’s time to enjoy the fruits of your labor! Arrange books, decorative objects, plants, or whatever suits your needs and style. Custom shelves are perfect for adding a personal touch to your home. Whether you choose to display treasured items or create a more minimalist look, the shelves you built will be a functional and stylish addition to any room.
Conclusion
Building custom shelves is a rewarding and practical DIY project that can enhance any room in your home. With a little planning, the right materials, and some basic tools, you can create shelves that are perfectly tailored to your space and needs. Whether you want to organize your belongings or display your favorite items, custom shelves are an excellent way to improve both the functionality and aesthetic of your home. So grab your tools, get creative, and start building your own custom shelves today!


